CVM
Learn how to deploy and run adp-chat-client on Tencent Cloud CVM (Cloud Virtual Machine).
Tencent Cloud CVM (Cloud Virtual Machine) is an efficient and scalable cloud server service provided by Tencent Cloud, designed to help users quickly build, deploy, and manage cloud applications. With Tencent Cloud CVM, you can easily create and manage virtual machine instances and deploy web services.
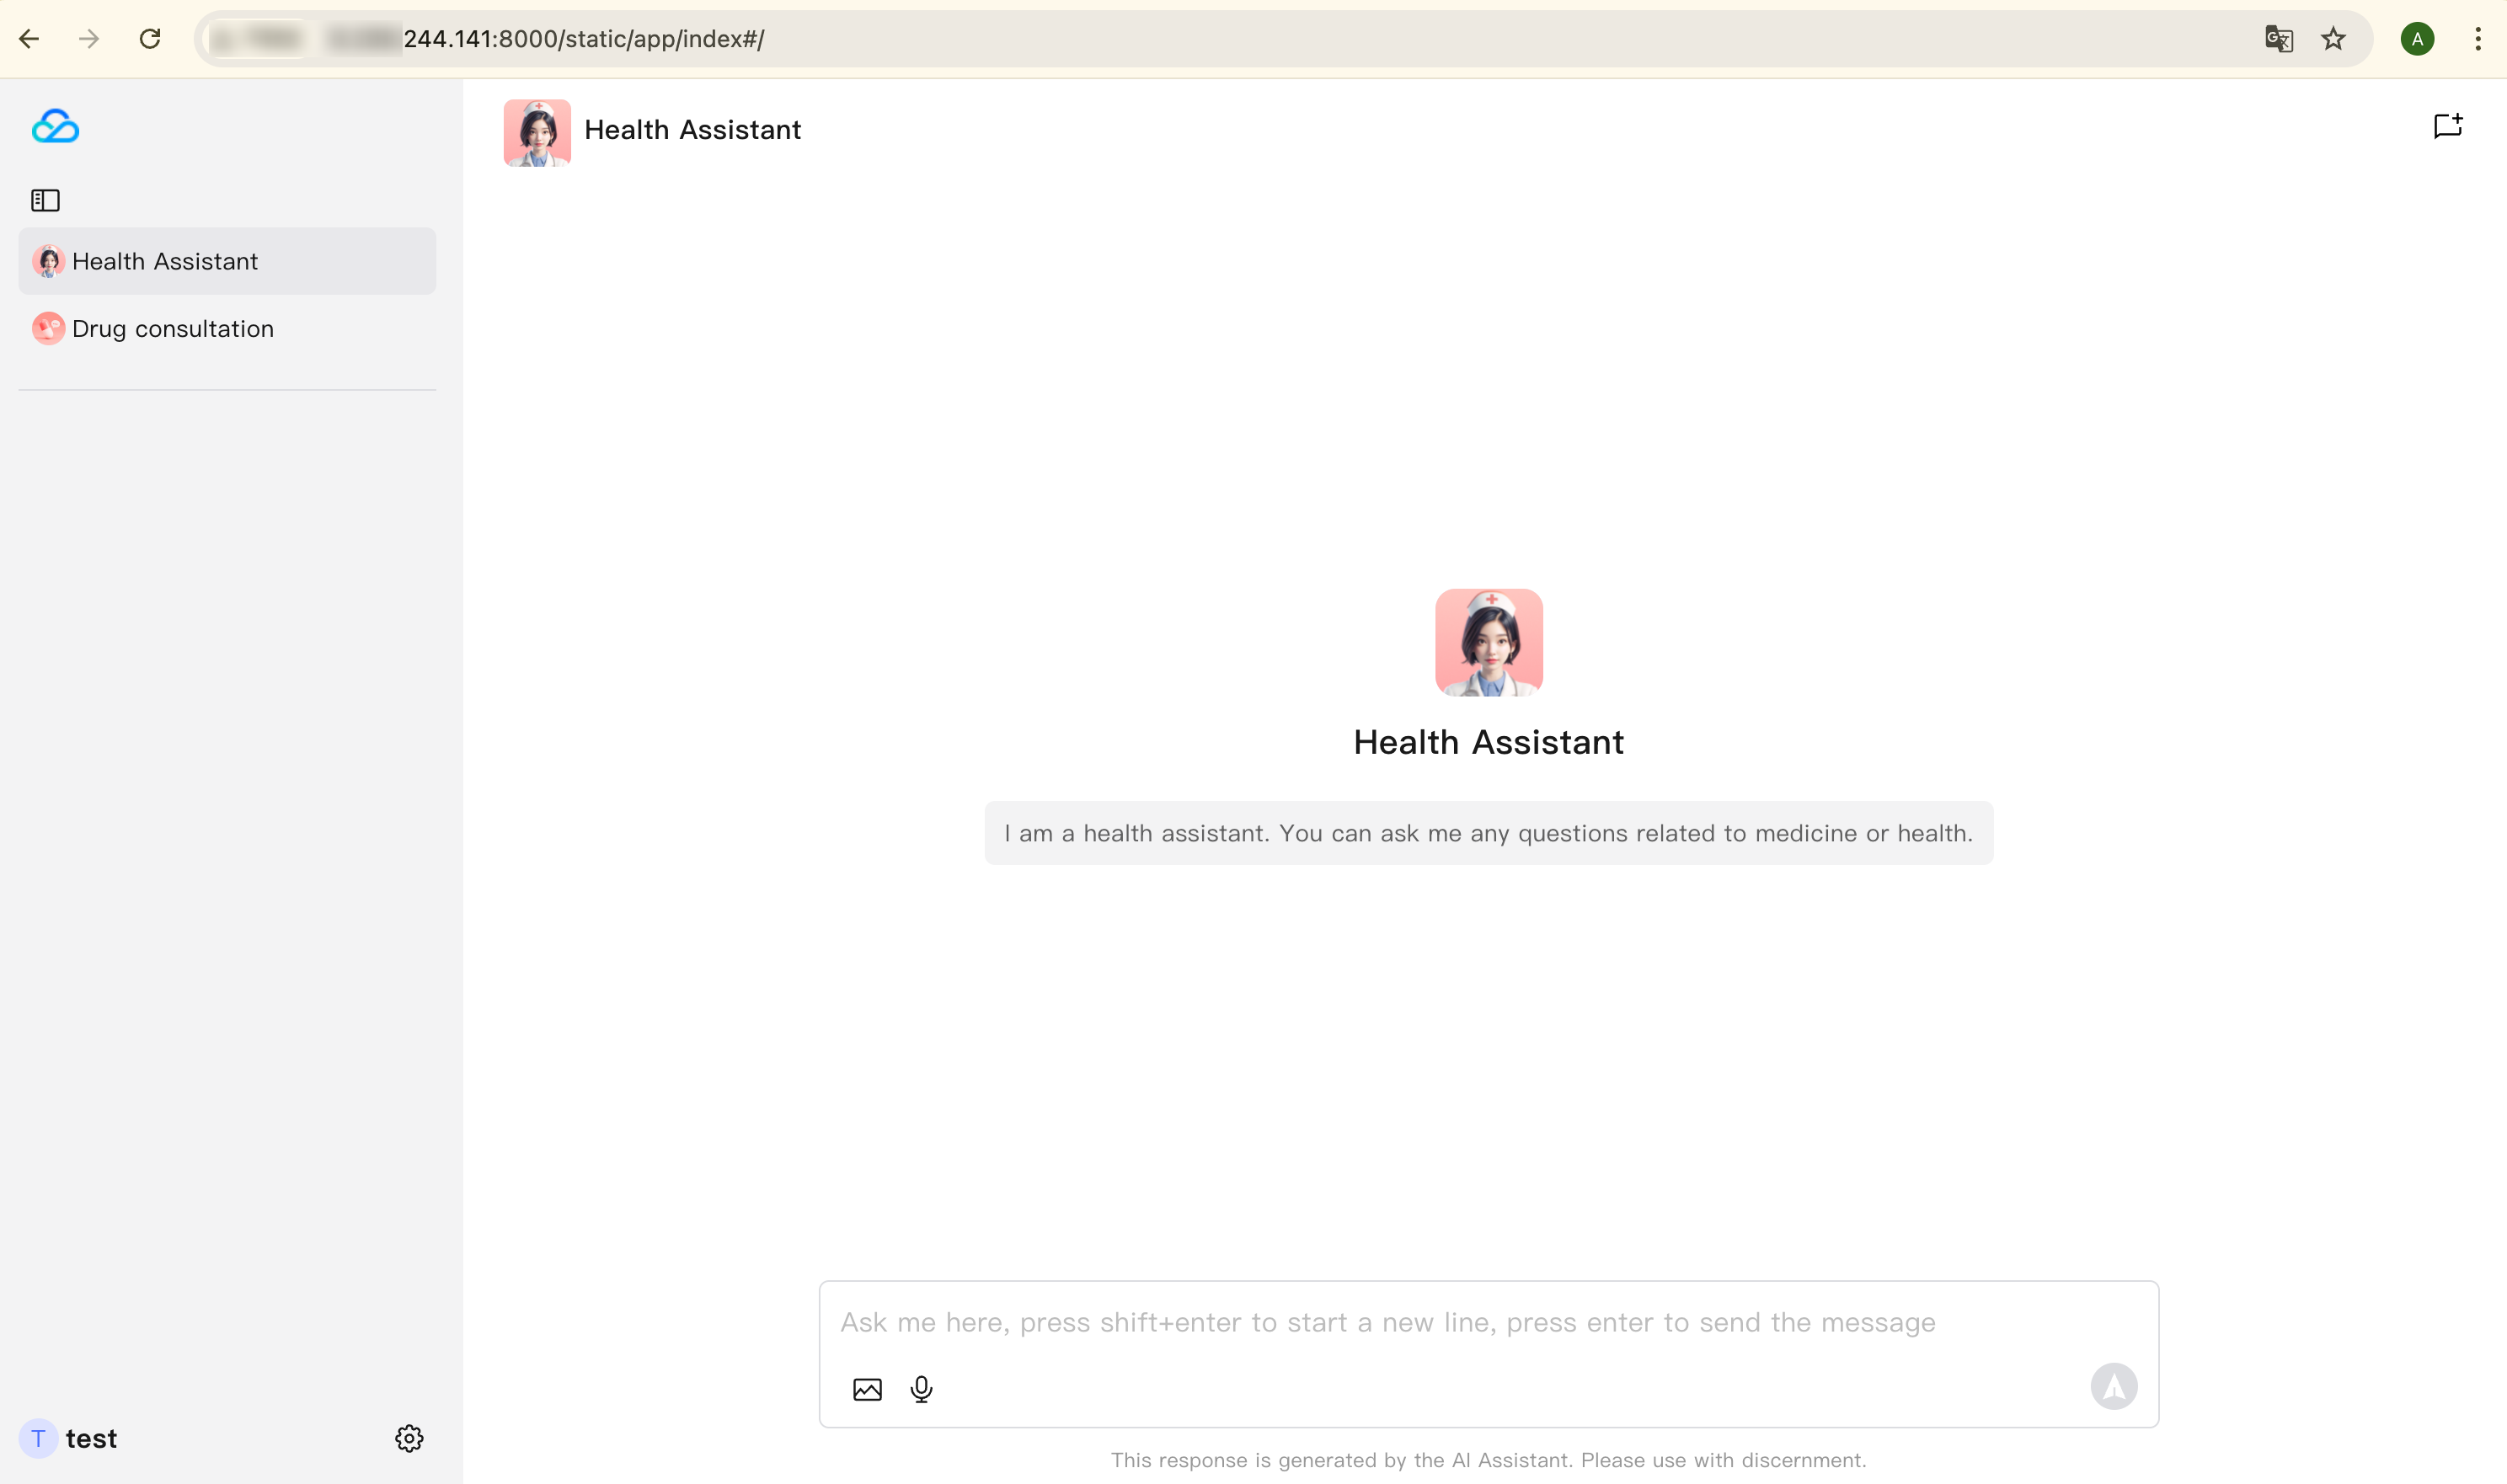
This guide demonstrates how to deploy adp-chat-client to the cloud, allowing others to access and interact with your intelligent agent application via URL.
Prerequisites
Before you begin, make sure you have:
- Tencent Cloud Account
- A deployed CVM instance
- Git
- Docker
Steps
Initialize CVM Service
1. Purchase and Configure CVM Instance
Go to the Cloud Server purchase page to purchase a CVM. On the Custom Configuration page, select the following options based on your needs:
- Billing Mode (Monthly subscription, pay-as-you-go, or spot instances)
- Region (Choose the data center location)
- Instance Configuration (e.g., Standard, Memory-optimized)
- Image (Choose your operating system, such as Windows or TencentOS)
For detailed configuration options, refer to:
2. Log in to CVM Instance
After the CVM instance is successfully created, log in using an SSH connection tool.
Tip: For Linux users, we recommend using SSH to access the CVM instance. For Windows users, you can use Remote Desktop Protocol (RDP) or PowerShell to log in to the CVM instance.
After logging in, you can install dependencies and deploy adp-chat-client just like on a local machine.
Deploy Service
Once your CVM is up and running, refer to Quick Start to initialize the environment, configure the .env file, and deploy and run adp-chat-client.
Follow these steps to deploy and run adp-chat-client. For detailed instructions, refer to Quick Start.
1. Clone the Repository
2. Initialize API Key
Modify the configuration items in the deploy/default/.env file:
3. Build Image and Start Service
Need Help?
For more resources and troubleshooting support, visit: